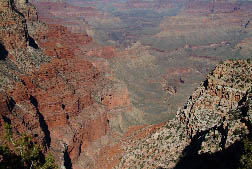
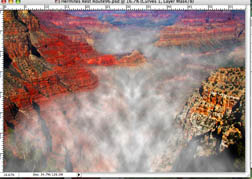
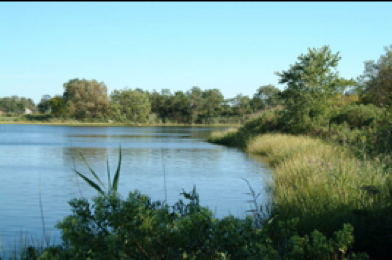
Original image with no retouching done.
|
|
Curves adjustment layer added.
|
|
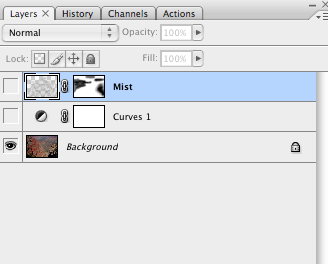
The effect of two cloud layers merged together. You can see that the layers push downward in the center of the image.
|
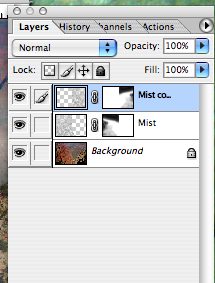
The dialog box above shows the layer that I dragged in from the file above. It was a vertical, so it covered only half of this horizontal image. I duplicated that layer and blended the two layers into one.
|
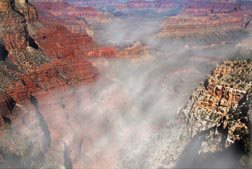
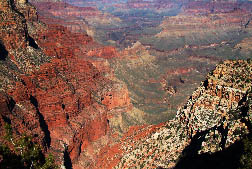
For the final image I used a motion blur to push the clouds through the canyon. I masked out areas where that technique was not appropriate.
|
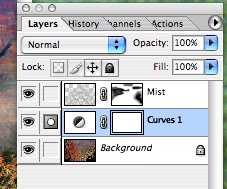
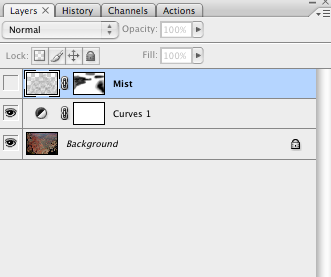
Mist layer is the product of two merged layers. A new mask has changed the entire effect. Again, the colors are from a jpg file and not a png file.
|
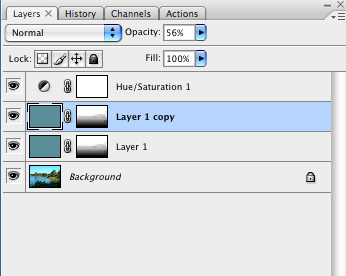
The example below is done with a very simple technique. A new layer is filled with a color and a layer mask that removes unwanted colors from the color layer. Texture can be added to that layer if more detail is required.
First I add a Hue / Sat adjustment layer to add some punch to the original image. Then I made a new layer and filled that layer with a color that I found in the image. I duplicated that color layer and set the opacity to 58% to achieve a 158% fog effect from both of these layers together. The masks on these layers hold back fog from specific areas in the image.
|
|
|
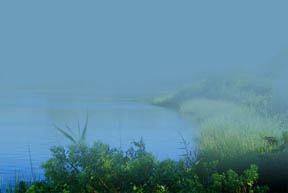
Final image with fog added
|
