Melanie Heinrich PhotographerMelanie Heinrich Photographer

SERVICES - Videos / Fine Art Photography / Commercial Photography

Home / Contact Melanie / About Melanie / Image Sales on Etsy / YouTube Channel - Photography
Books / Gallery Shows / Presentations / PressWorkshops Travel


Commercial Photography

Commercial Photography  /  Photo Lessons  /  Workshops and Tutorials  /  Graphic Design  /  Web Site Design


Workshops and Tutorials - Image Editing


Teaching Philosophy

Adding Fog

Blending

Changing Day to Night

Complicated Merging

Digital Depth-of-Field

Fixing Exposure Diversities

Digital Infrared

Masking

Merging Images

Making Smoke

Making Snow


Creating a Digital Infrared Image

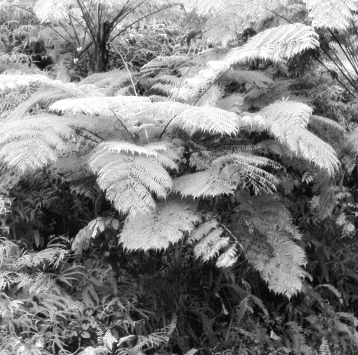
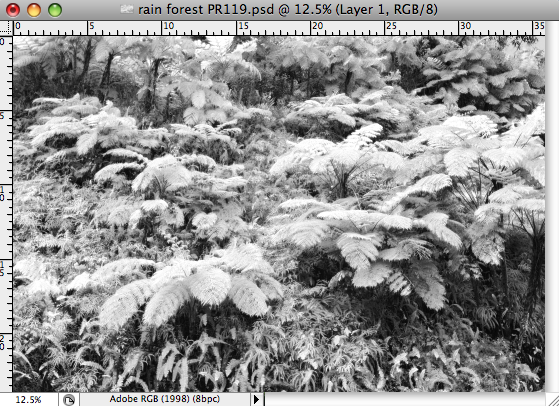
Open an RGB color image in Photoshop that is dominantly green in hue.

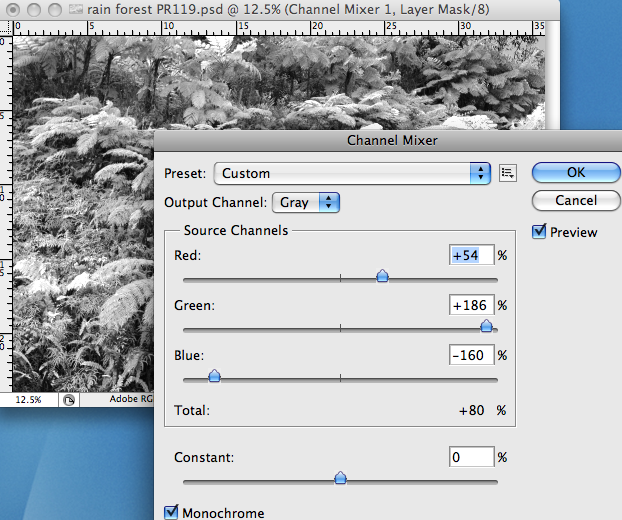
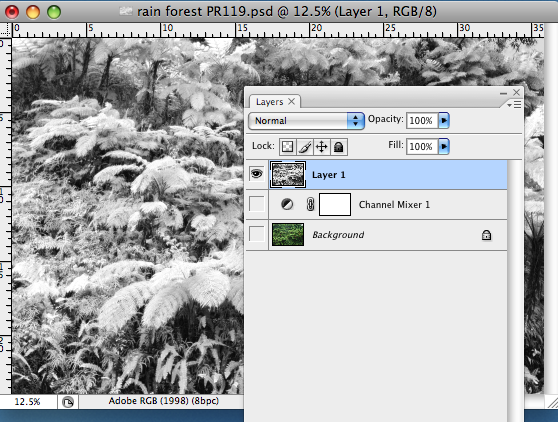
Add a Channel Mixer adjustment layer from the bottom of the layers palette. Input the settings +54-Red channel, +186-Green channel, and -160-Blue channel and check the monochromatic box.

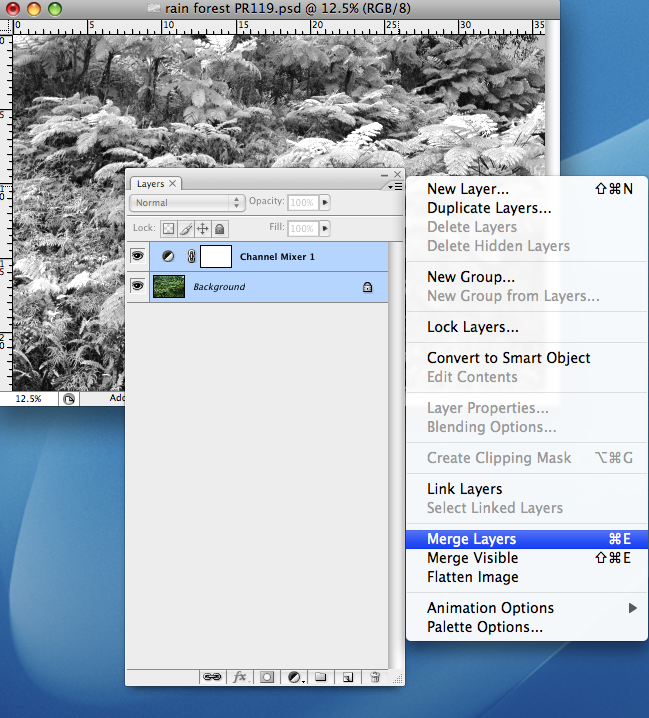
Blend those two layers together by highlighting both layers and then holding down the Option and Command keys and merging those two layers in the layers palette menu. A new independent layer will be created.

Finally, on this new layer add a slight amount of noise and blur to the image. Mask out areas that need to be toned down. Masking can be done by adding a masking layer. I did not need to mask anything out in this image.

The final image has the traditional look and feel of a film infrared image with grain and soft focus.

Below is a close-up of the final image.


Top of Page

Home / Contact Melanie / About Melanie / Images Sales on Etsy / YouTube Channel - Photography

2018 Copyright Melanie Heinrich. All rights reserved.


Photo Tips And Tricks